How to Install Infiltrator Quick4 Equalizer 36: A Step-by-Step Guide
Installing an Infiltrator Quick4 Equalizer 36 septic tank is a practical choice for homeowners who need a lightweight, high-capacity system without the hassle of heavy concrete. This guide walks you through the process from excavation to backfill, ensuring you meet code requirements and get a durable, leak-proof installation.
What Tools and Materials Are Required for a Quick4 Equalizer 36 Installation?
Before you break ground, gather the right equipment. The Infiltrator Quick4 Equalizer 36 is a 1,000-gallon, one-piece polyethylene tank, so you won’t need a crane, but you will need a mini-excavator or backhoe for digging. Key tools include a tape measure, level, shovel, and a reciprocating saw with a fine-tooth blade for cutting holes. Materials include the tank itself, a riser kit (typically a 24-inch diameter riser), a septic tank outlet filter, and pipe fittings for 4-inch schedule 40 PVC. You’ll also need bedding sand or crushed stone (all-weather gravel works well), and backfill soil. On average, expect to spend $1,200 to $2,000 USD for the tank and $400 to $800 USD for accessories and installation materials. A 2-ton mini-excavator rental runs about $250 USD per day.
Start by verifying local codes—most jurisdictions require a minimum of 2 feet of cover over the tank and a 10-foot setback from the house. Lay out the tank location so the inlet aligns with your building sewer line. The Quick4 Equalizer 36 has pre-marked inlet and outlet areas, but you’ll cut the actual openings yourself. Use a level to ensure the tank sits perfectly flat; any tilt can cause flow issues. For a smooth dig, excavate a hole that’s 3 feet wider than the tank on all sides—this gives you room to work and to place bedding.
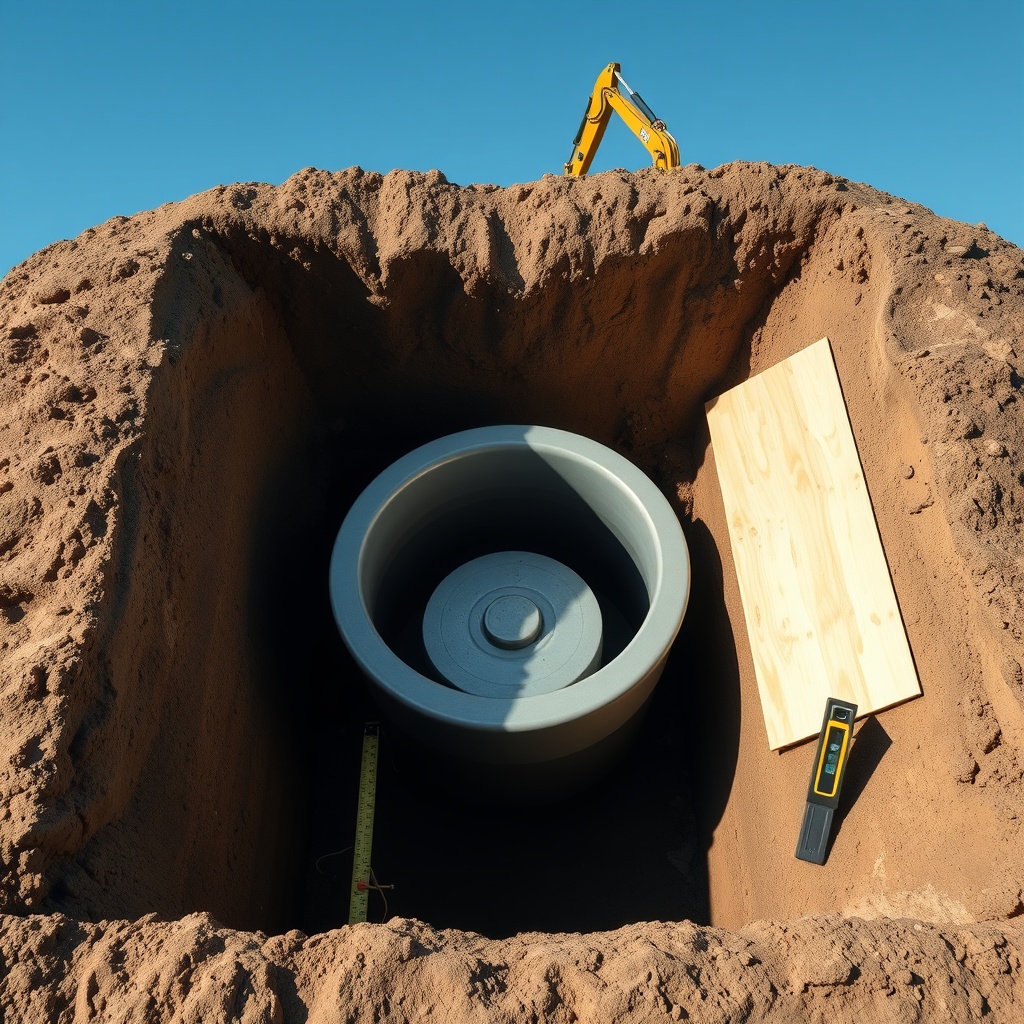
How Do You Prepare the Excavation Site for the Infiltrator Quick4 Equalizer 36?
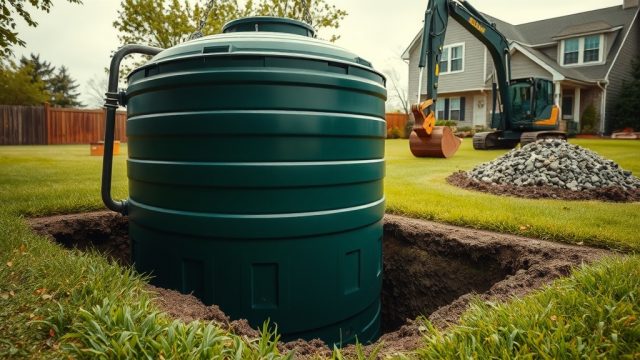
Proper site prep is critical for long-term stability. The Quick4 Equalizer 36 weighs about 450 pounds empty, so you can maneuver it with a small tractor or even a team of four strong people using straps. First, clear the area of rocks, roots, and debris. Then, dig the hole to a depth that accounts for the tank height (60 inches) plus the required cover. For example, if code asks for 24 inches of cover, your hole depth from grade to the bottom of the excavation should be 84 inches (7 feet). Slope the sides at a 45-degree angle in sandy soil to prevent cave-ins; in clay, vertical walls are fine if braced.
Create a 6-inch thick bed of compacted sand or gravel. Use a hand tamper or plate compactor to level it within 1/8 inch per foot. The tank’s flat bottom needs full support to avoid stress cracks. If your soil is unstable, consider a geotextile fabric under the bedding. After compacting, recheck depth with a transit or laser level. A well-prepped base means the tank won’t settle unevenly over time, which is a common issue with lightweight plastic tanks.
How Do You Position and Level the Tank?
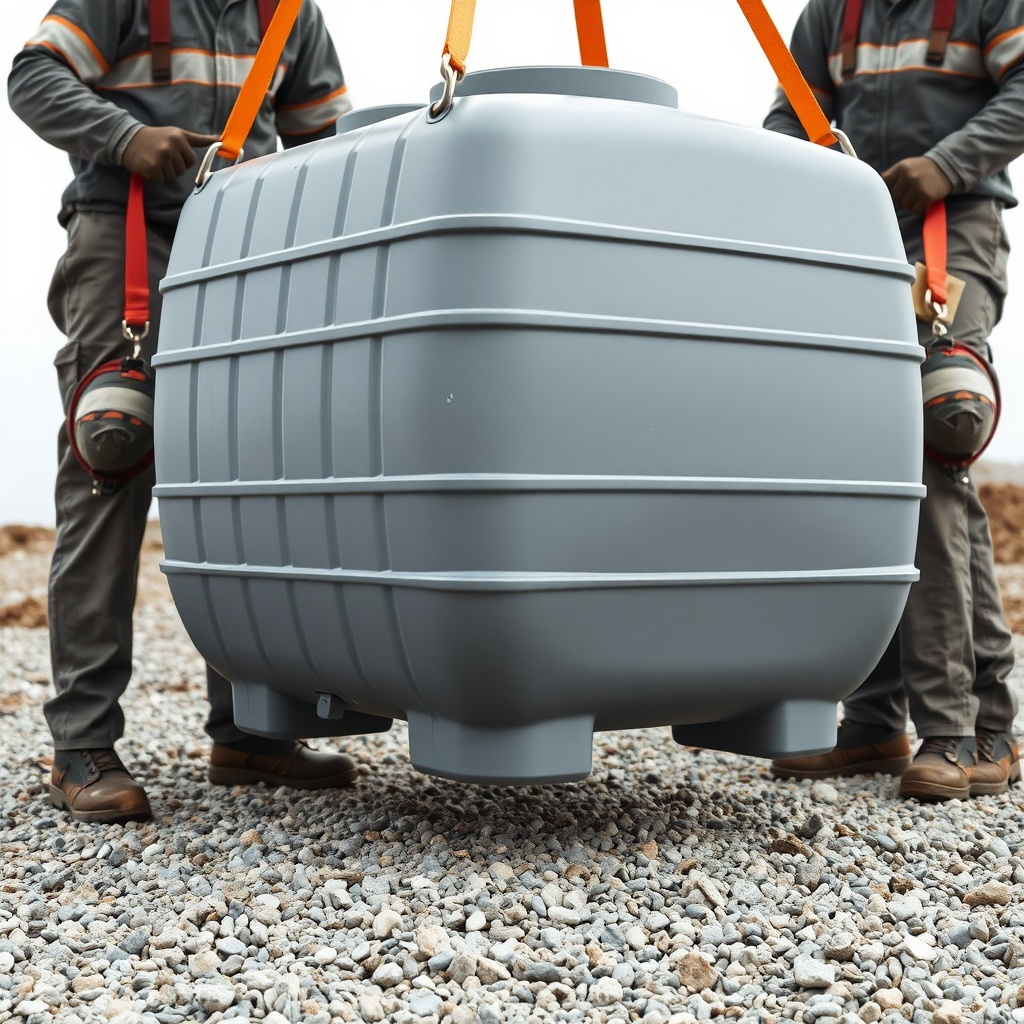
Once the bedding is ready, lower the Infiltrator Quick4 Equalizer 36 into the hole. Use lifting straps or ropes placed under the tank’s ribbed sections—never lift by the lid or outlet ports. Set it down gently to avoid denting the plastic. Align the inlet side (marked on the tank) with the inflow pipe. The tank has a 3-foot offset from the inlet to the outlet, so double-check orientation if your layout is tight.
Place a long level across the tank’s top flange in both directions. Adjust by adding or removing bedding beneath. After leveling, fill the tank with water to about 1/3 capacity. This temporary ballast prevents buoyancy during backfill. Do NOT fully fill it yet; the water adds weight but leave room for adjustments. For a 1,000-gallon tank, 333 gallons of water weighs about 2,780 pounds, which is enough to hold it down in most soils. Wait 15 minutes and recheck level—settling often occurs immediately.
If your area has a high water table, install a concrete anchor or tie-down straps (sold separately by Infiltrator) around the tank’s base. The Quick4 Equalizer 36 can handle buoyancy forces up to 5,000 pounds if properly anchored.
How Do You Cut Inlet and Outlet Holes Correctly?
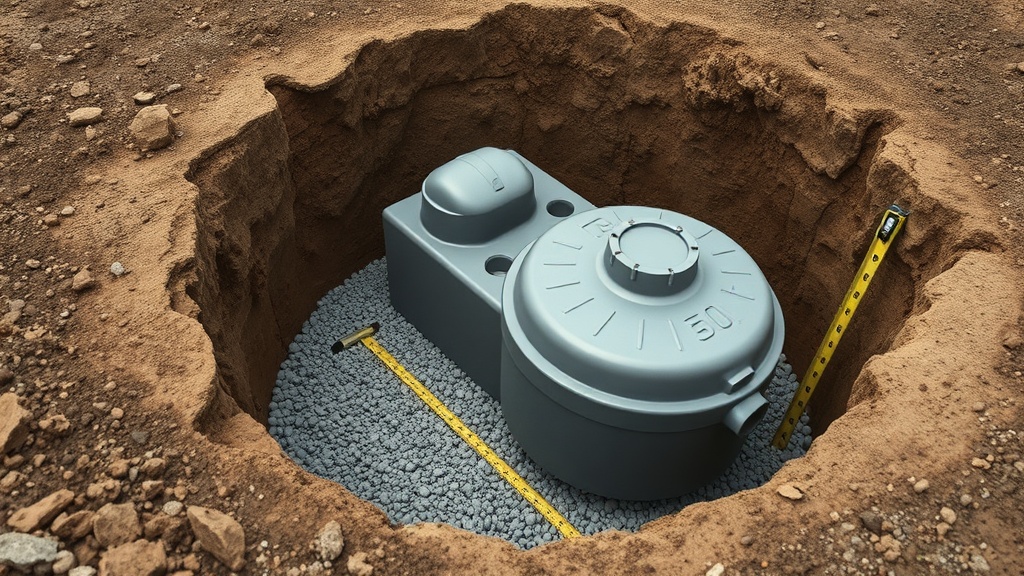
Now comes the precise part. The Quick4 Equalizer 36 has raised circular indicators on the top for where to cut. Use a 4-inch hole saw on a drill for the inlet and outlet—typically 6 inches down from the tank top. The inlet is slightly higher than the outlet to maintain hydraulic flow; measure twice. For a standard residential system, the inlet invert needs to be at the same elevation as your building sewer pipe exit (usually 3-4 feet below grade).
Cut slowly to avoid cracking the plastic. If using a reciprocating saw, use a fine-tooth blade and stay just inside the marked circle. Clean the edges with sandpaper. Install rubber gaskets (included with most riser kits) and push them into the holes. For the inlet, attach a 4-inch PVC coupling using PVC primer and cement. The outlet gets a similar coupling but should include a tee or baffle if required by code. Most states require an outlet filter on the tank’s exit side—install one now inside the outlet pipe. The filter retains solids and costs about $50 USD.
Check that the flow direction points away from the house. The Quick4 Equalizer 36’s internal design uses a center baffle to prevent scum from leaving the tank, but the outlet should still be 10 percent lower than the inlet. Use a level to confirm this slope once the couplings are set.
| Issue Severity | Description |
|---|---|
| Usually not urgent | Small gaps in backfill soil that cause minor settling over a few years. This rarely affects function but may require adding topsoil later. |
| Needs attention soon | Outlet pipe slope reversed (e.g., outlet higher than inlet). This will cause backup and odors. Must be fixed before backfilling fully. |
| Critical (fix now) | Inlet or outlet holes cut too large or misaligned. Gaskets won’t seal, leading to leakage. Contact manufacturer for repair patch kit. |
What’s the Proper Backfill and Final Connection Procedure?
Backfilling is a layer-by-layer process. First, connect the inlet and outlet pipes to the building sewer and the drainfield line. Use schedule 40 PVC and test for leaks with a water hose. The Quick4 Equalizer 36 manual specifies a maximum 2-psi pressure test for 15 minutes. Drop a few inches of water into the inlet pipe; if no drips appear at couplings, proceed.
Backfill with the same material you used for bedding—clean gravel or sand. Add 6 inches at a time, lightly tamping each layer with a hand tamper. Avoid heavy machinery directly over the tank until at least 18 inches of backfill are in place. The plastic can dent if subjected to point loads from equipment tracks. Keep the tank water at 1/3 full during backfill; only fill to full capacity after 2 feet of backfill cover. This reduces hydrostatic pressure on the walls.
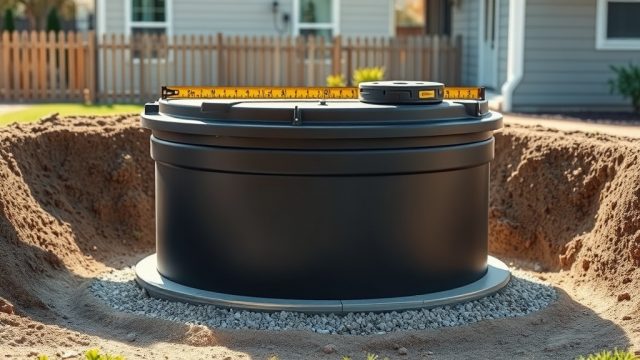
Install the riser kit over the tank opening. The Quick4 Equalizer 36 uses a 24-inch diameter riser that bolts onto the tank neck. Seal the gasket with silicone. Extend the riser to grade and attach a locking lid. Inspect for leaks by pouring water into the riser—it should drain slowly into the tank. If there’s standing water, the seal is compromised. Finally, slope the surrounding soil away from the riser to prevent rainwater inflow. Apply 4-6 inches of topsoil and seed.
What Do Owners Say About the Installation Experience?
Homeowners often report that the Quick4 Equalizer 36 is easier on the back than concrete alternatives. One owner in Ohio, after a DIY installation, noted: “It took me two days instead of the four I budgeted for, mostly because the tank was easy to slide into place with a tractor. Concrete would have needed a crane and extra hands. Just don’t skimp on bedding—I used 3/4-inch gravel and it set up solid.” Another owner in Florida warned about local requirements: “My county inspector insisted on a cement collar around the riser. Check your code first—it added $150 to the cost. But overall, the install went smooth with the included directions.” A third from Texas mentioned, “I filled the tank with water before backfill, which is what Infiltrator recommends. When the ground got heavy rain a week later, the tank stayed put. No floating issues.”
Frequently Asked Questions
Can I install a Quick4 Equalizer 36 alone?
While possible with a small tractor, it’s safer to have a helper. The tank weighs 450 pounds and is awkward to carry solo. Most DIYers use a dedicated helper for lifting and alignment.
Do I need to hire an engineer for the installation?
Not typically, but if your soil is clay-heavy or the water table is high, a soil percolation test may be required. Many jurisdictions require a licensed installer for permits. Check local code before starting.
How deep does the inlet need to be?
Inlet depth depends on your building sewer exit. Typically 3-4 feet below grade, but code may require a minimum of 18 inches to the top of the tank. Measure from your house’s main cleanout.
What size septic tank is the Infiltrator Quick4 Equalizer 36?
It is a 1,000-gallon tank, 60 inches in height, 66 inches in diameter, with a center baffle that separates compartments. It’s suitable for a 3-4 bedroom home.
How long does the installation take?
With two experienced people and proper equipment, about 8-12 hours including digging, bedding, pipe connections, and backfill. Add 2-3 hours for testing and final grading.
What’s the warranty on the tank?
Infiltrator provides a 30-year limited warranty on the Quick4 Equalizer 36 against defects in material or workmanship. Does not cover improper installation damage.
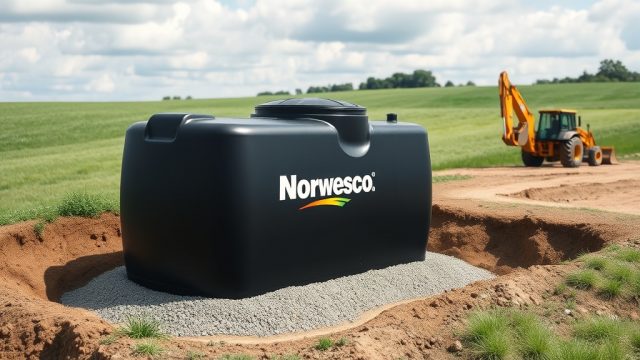
For more details on tank selection, read our Best Septic Tanks for 2025: How to Choose the Right Size and Material. If comparing brands, see Infiltrator Quick4 Equalizer 36 vs Norwesco 1000 Gallon: Which Tank to Choose?. And for ongoing care, check Infiltrator Quick4 Equalizer 36 Maintenance: What You Need to Know.